How to Upload contacts via CSV
In this article we will explain how to upload all your client contacts to HQ+ by creating and uploading a CSV file.
Please note that you have to use a laptop or desktop computer when uploading for this process.
Step 1
Download the CSV template here: Download HQ+ Contacts CSV
Step 2
Enter your contacts' Name and Family information into the CSV. Ensure you enter the country code (+65) in front of the phone number.
PRO TIP: In MS Excel, and Google sheets to make the number appear properly and not register as a sum, you need to put an apostrophe ' in front of the +. E.g. '+65 88889999
PRO TIP: In MS Excel, and Google sheets to make the number appear properly and not register as a sum, you need to put an apostrophe ' in front of the +. E.g. '+65 88889999
Step 3
Ensure all information in the date-related field are in the correct yyyy-mm-dd format.PRO TIP 1: If you are having autocorrect issues with the date format in MS Excel or Google sheets right click the cell you are entering the date into and select 'PLAIN TEXT'
PRO TIP 2: For another way to make the date show correctly ou can go to this article here.
Step 4
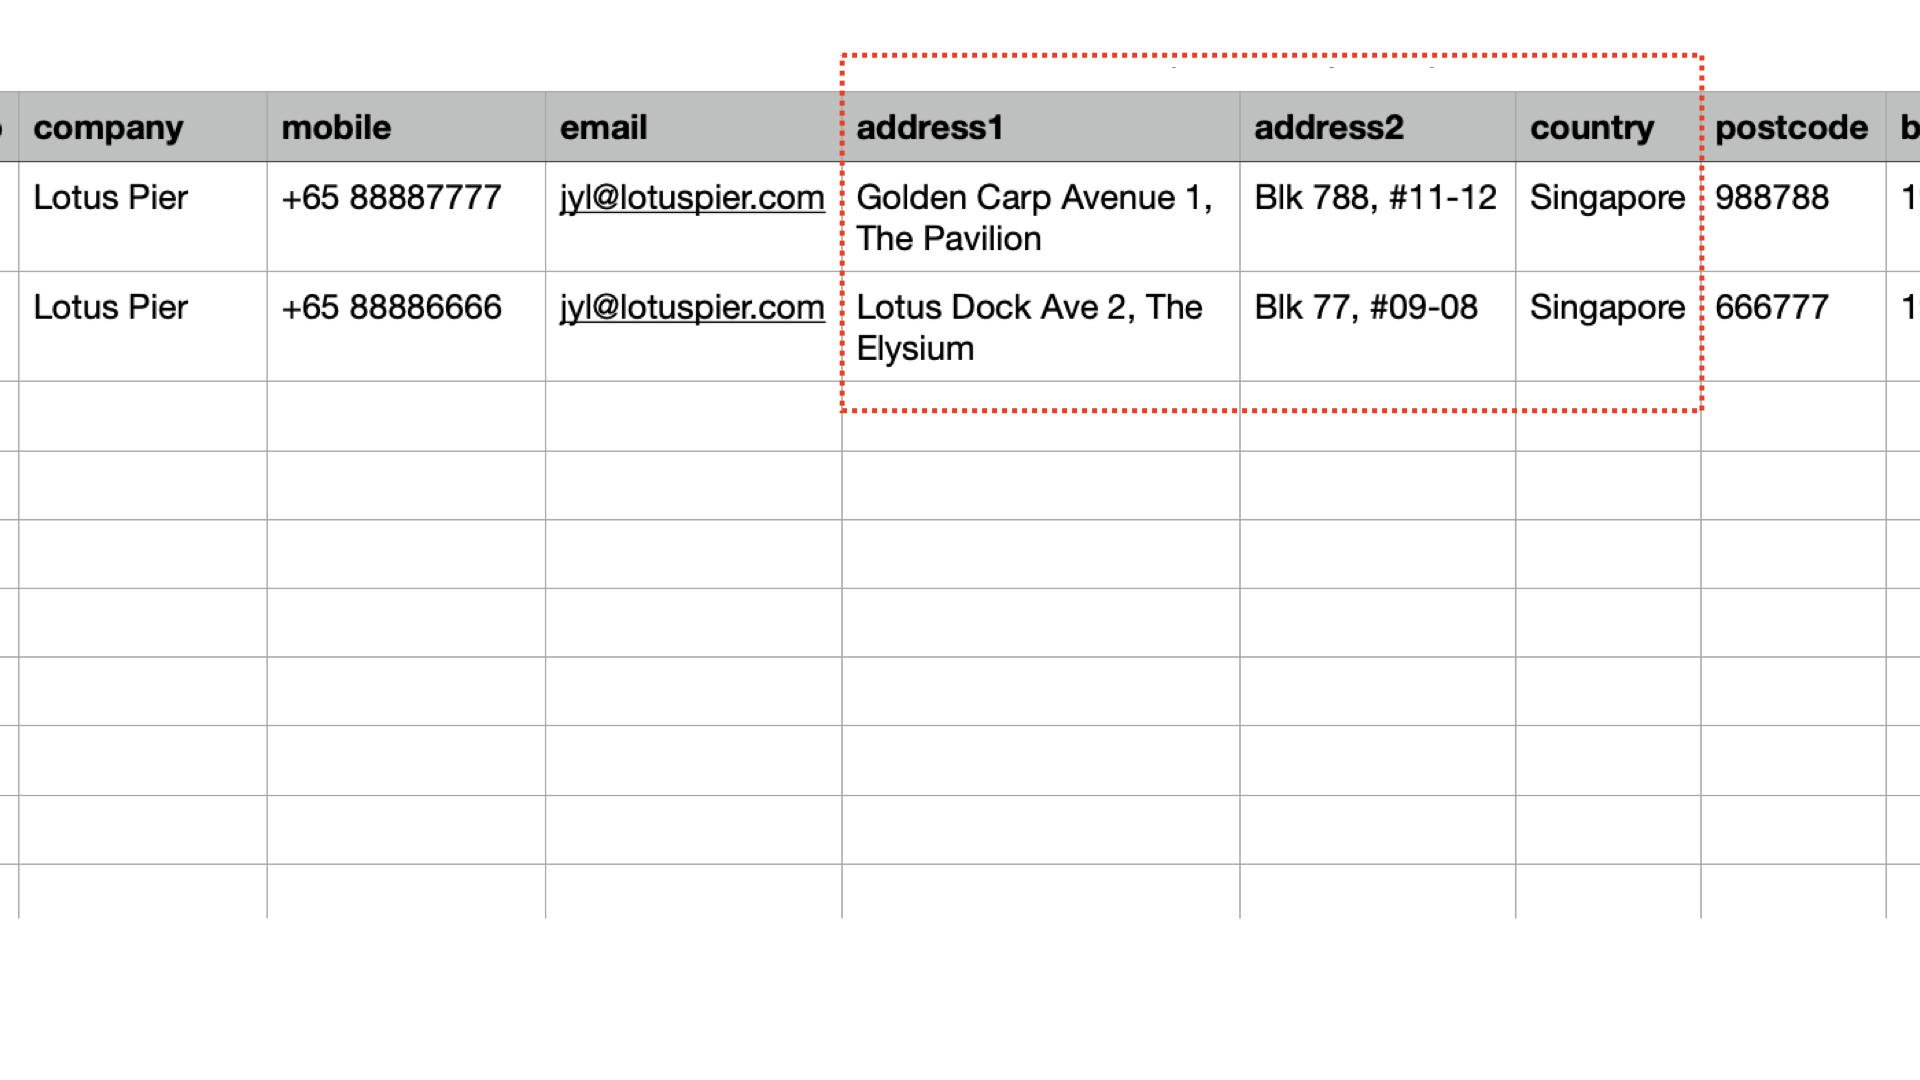
Enter the mailing address of the contact where possible to allow postcard sending.
Ensure that country is always indicated as "Singapore" and not a variation like "SG" or "sg" or "s" etc.
Step 5
Indicate if you want the client to receive BIRTHDAY CARDS automatically by entering "yes" and "no". YES = "Yes, the contact is to ALWAYS receive birthday cards automatically".
NO = "No, the contact is NEVER to receive birthday cards automatically".
PRO TIP: Even if you indicate a contact is NEVER to receive a birthday card, you will still receive a birthday reminder 2-3 weeks in First Page. You can manually send a birthday card then.
Step 6
Indicate if you want the client to receive REVIEW CARDS automatically by entering "yes" and "no".
YES = "Yes, the contact is to ALWAYS receive Review Cards automatically".
NO = "No, the contact is NEVER to receive Review Cards automatically".
PRO TIP: Even if you indicate a contact is NEVER to receive a Review Cards, you will still receive a birthday reminder 3 months in First Page. You can manually send a Review Cards then. Step 7
Indicate if you want the client to receive the MONTHLY NEWSLETTER automatically by entering "yes" and "no".
YES = "Yes, the contact is to ALWAYS receive Monthly Newsletter automatically".
NO = "No, the contact is NEVER to receive Monthly Newsletter automatically".
PRO TIP: To minimize Newsletter bounce rates; and ensure that the majority of your contacts will receive the monthly newsletter, please make sure to enter an active email address for your contact, preferably one that is NOT a Yahoo email address.
Note: Contacts who receive the newsletter will always have the option to unsubscribe and take themselves off the list of newsletter recipients any time. The button to unsubscribe can be found at the bottom of the newsletter and looks like this:
Step 8
Save the file in a CSV format and rename it with the date in the filename for easy reference when uploading into the HQ+ platform.
Step 9
To upload the CSV select "Contacts" in the HQ+ menu followed by  at the top of the page.
Step 10
Select  and choose the correct CSV file from your computer.
Give the HQ+ platform some time to process the newly uploaded contacts list and check again within half an hour.
Note: The higher the volume of contacts, the more time will be needed.
Additional Tips
Grouping family members and households
You can group contacts according to family or household by giving contacts who are family members, or part of the same household, the same family name, within the family group column.
Categorizing contacts
You can group contacts into certain categories within the "groups" column, (e.g. StarWarsClients, MarvelClients, christmas2021, 14thofJuly)
Note: Use comma to indicate different categories
Tagging contacts for campaigns
You can group contacts for targeted campaigns by tagging them accordingly. To find out how to tag contacts, you may go this guide here.
Related Articles
HQ+ FAQ
Welcome to the HQ+ FAQs. If there's a question that is not answered below, please lodge a ticket through the support section of headquarter.io Getting Started Is there a demo account I can try? If you'd like a look around inside HQ+, please sign up ...How To Add Contacts Individually (Manual)
In this article we will explain how to upload individual client contacts to HQ+ Step 1 Login to your HQ+, then click 'Contacts' in the HQ+ menu Step 2 To add a new contact click the large plus . You should be taken to a page for completing the ...How To Tag Contacts
The following article will show you how to tag contacts for the purpose of creating campaigns targeted at them. Step 1: In the HQ+ menu under Contacts, Select Tagging. Step 2: Select Tag to view a list of tags and create new ones. Step 3: Create a ...Client Consent
This is an article explaining how to use the HQ+ Client Consent tool. Acquiring client consent for communications is an essential part of modern business practice and a requirement of MAS, PDPA, and company rules and policies. It is entirely the ...OTP/2FA (One Time Password/Two Factor Authentication)
Learn how to view and use the OTP/2FA OTP/2FA Step 1: The OTP/2FA (One Time Password, Two Factor Authentication) is an optional security feature on HQ+ that ensure nobody but you can login to your account. In the HQ+ menu click on the 'ACTIVATE ...