How To Add Contacts Individually (Manual)
In this article we will explain how to upload individual client contacts to HQ+
Step 1
Login to your HQ+, then click 'Contacts' in the HQ+ menuStep 2
To add a new contact click the large plus  .
.
You should be taken to a page for completing the contact's general information
Step 3
Make sure you select the 'Full Details' tab at the top pf the page.
Step 4
Fill up as much general information on the new contact as you can, every little bit helps.
*Ensure that for mobile, add in +65 at the start of the mobile number.
Step 5
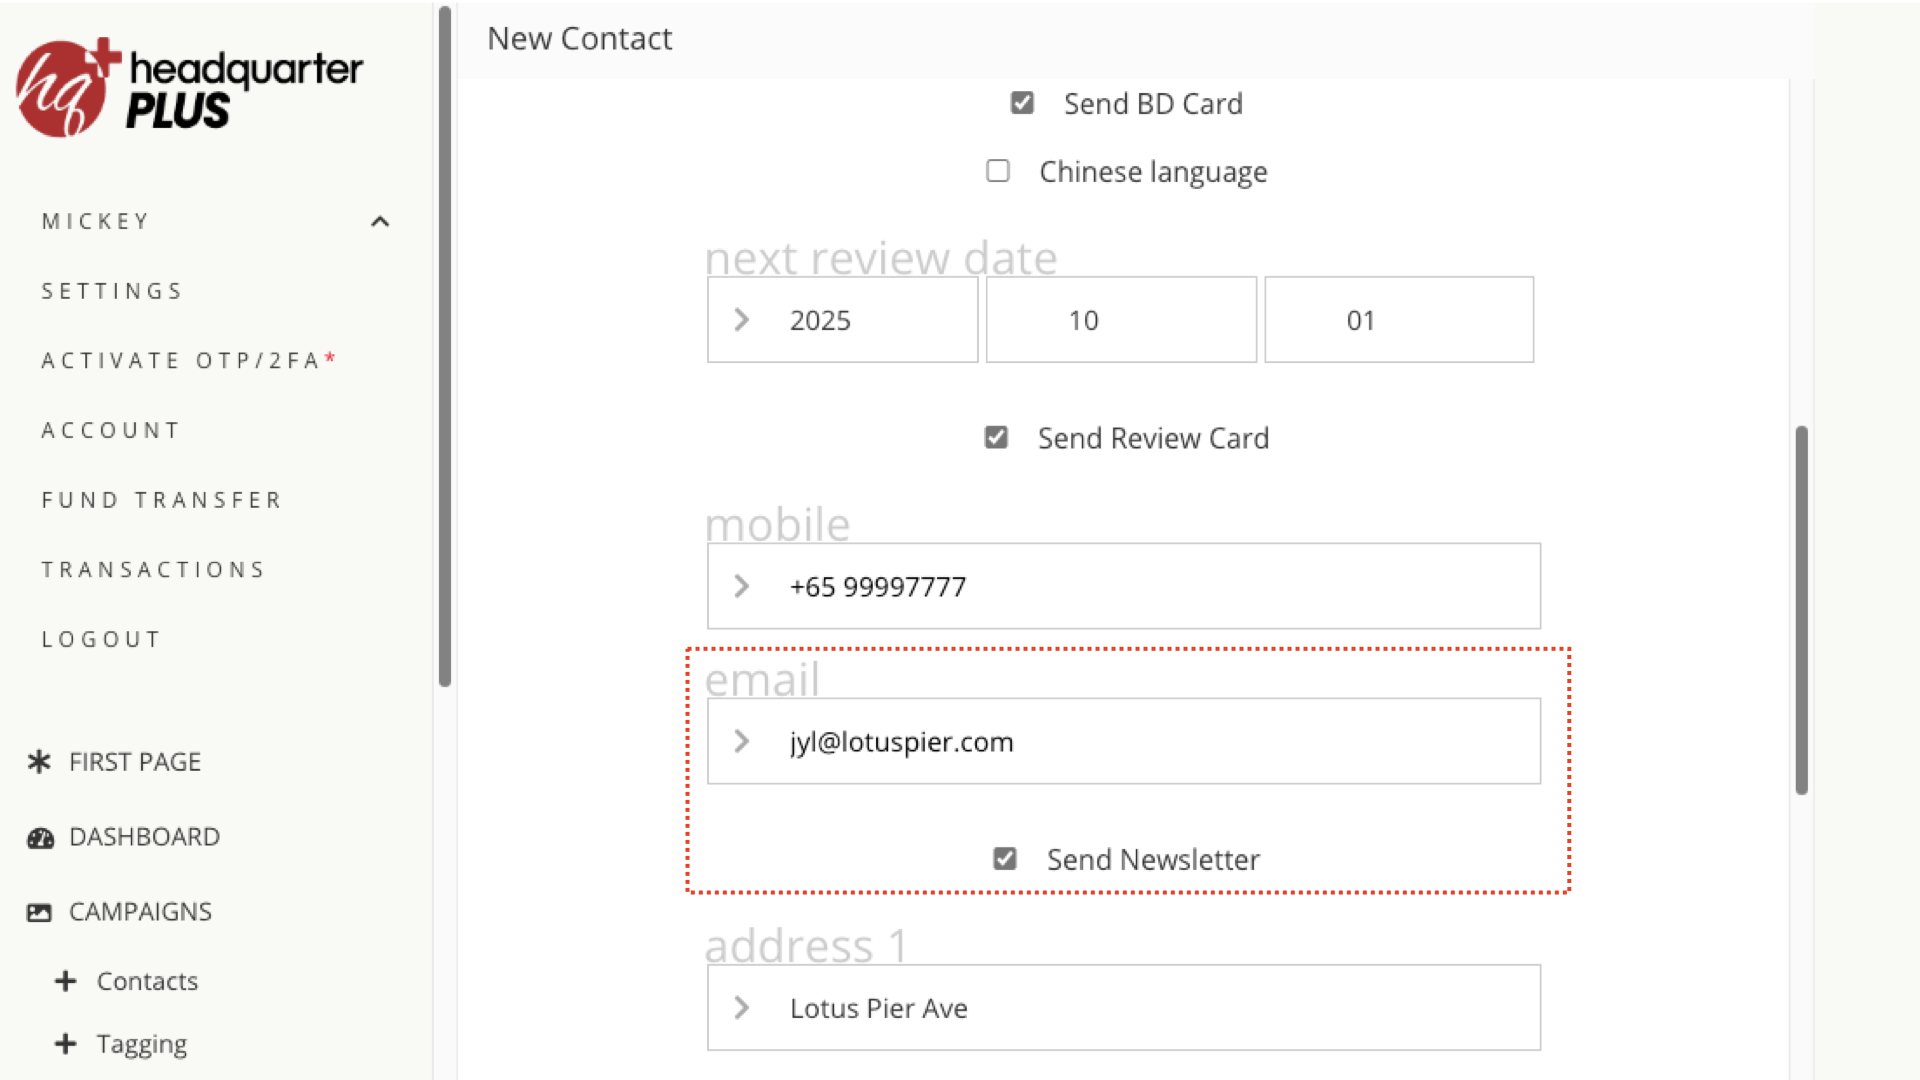
To enable automated birthday card sending enter contact's birthday in yyy-mm-dd format and check the 'Send BD Card' box.
Step 6
Enter contact's mailing address ensuring that country is filled up as "Singapore" and not any other variation like "sg" or "SG" or "s" etc
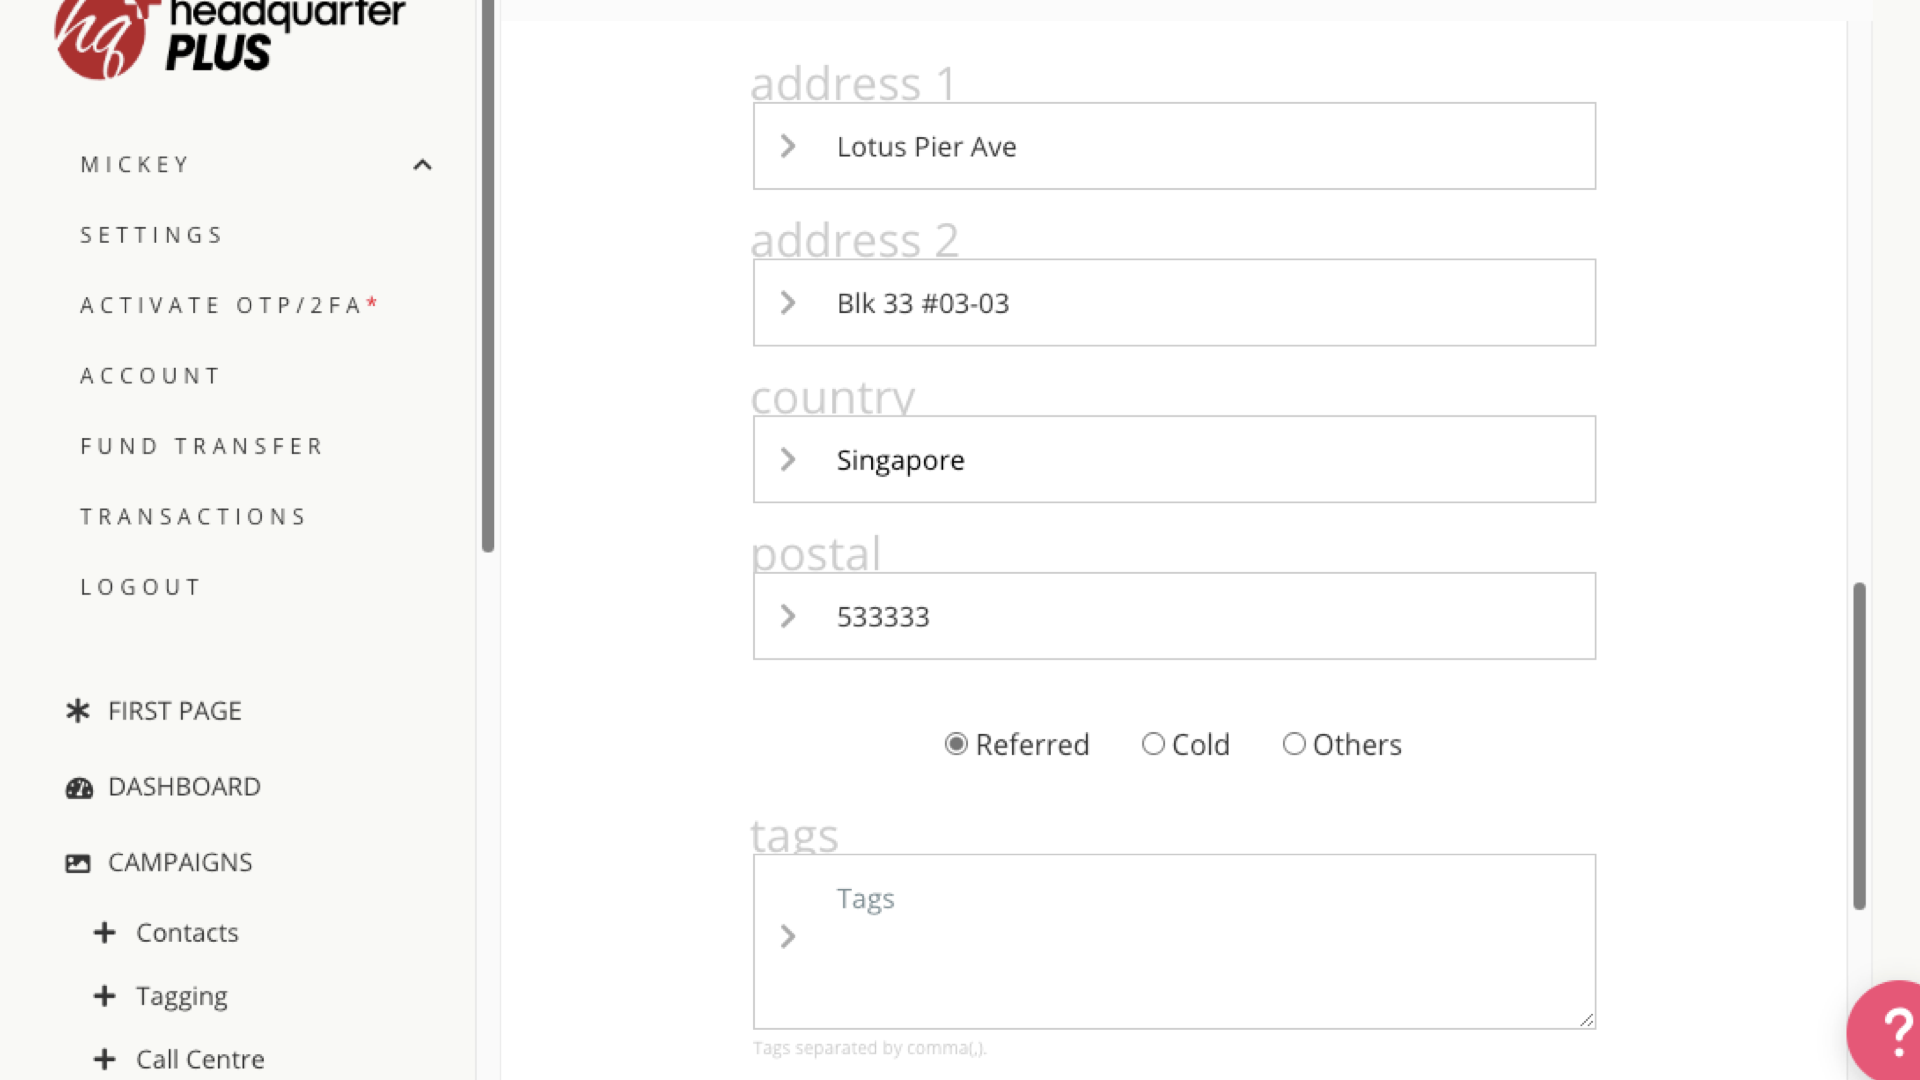
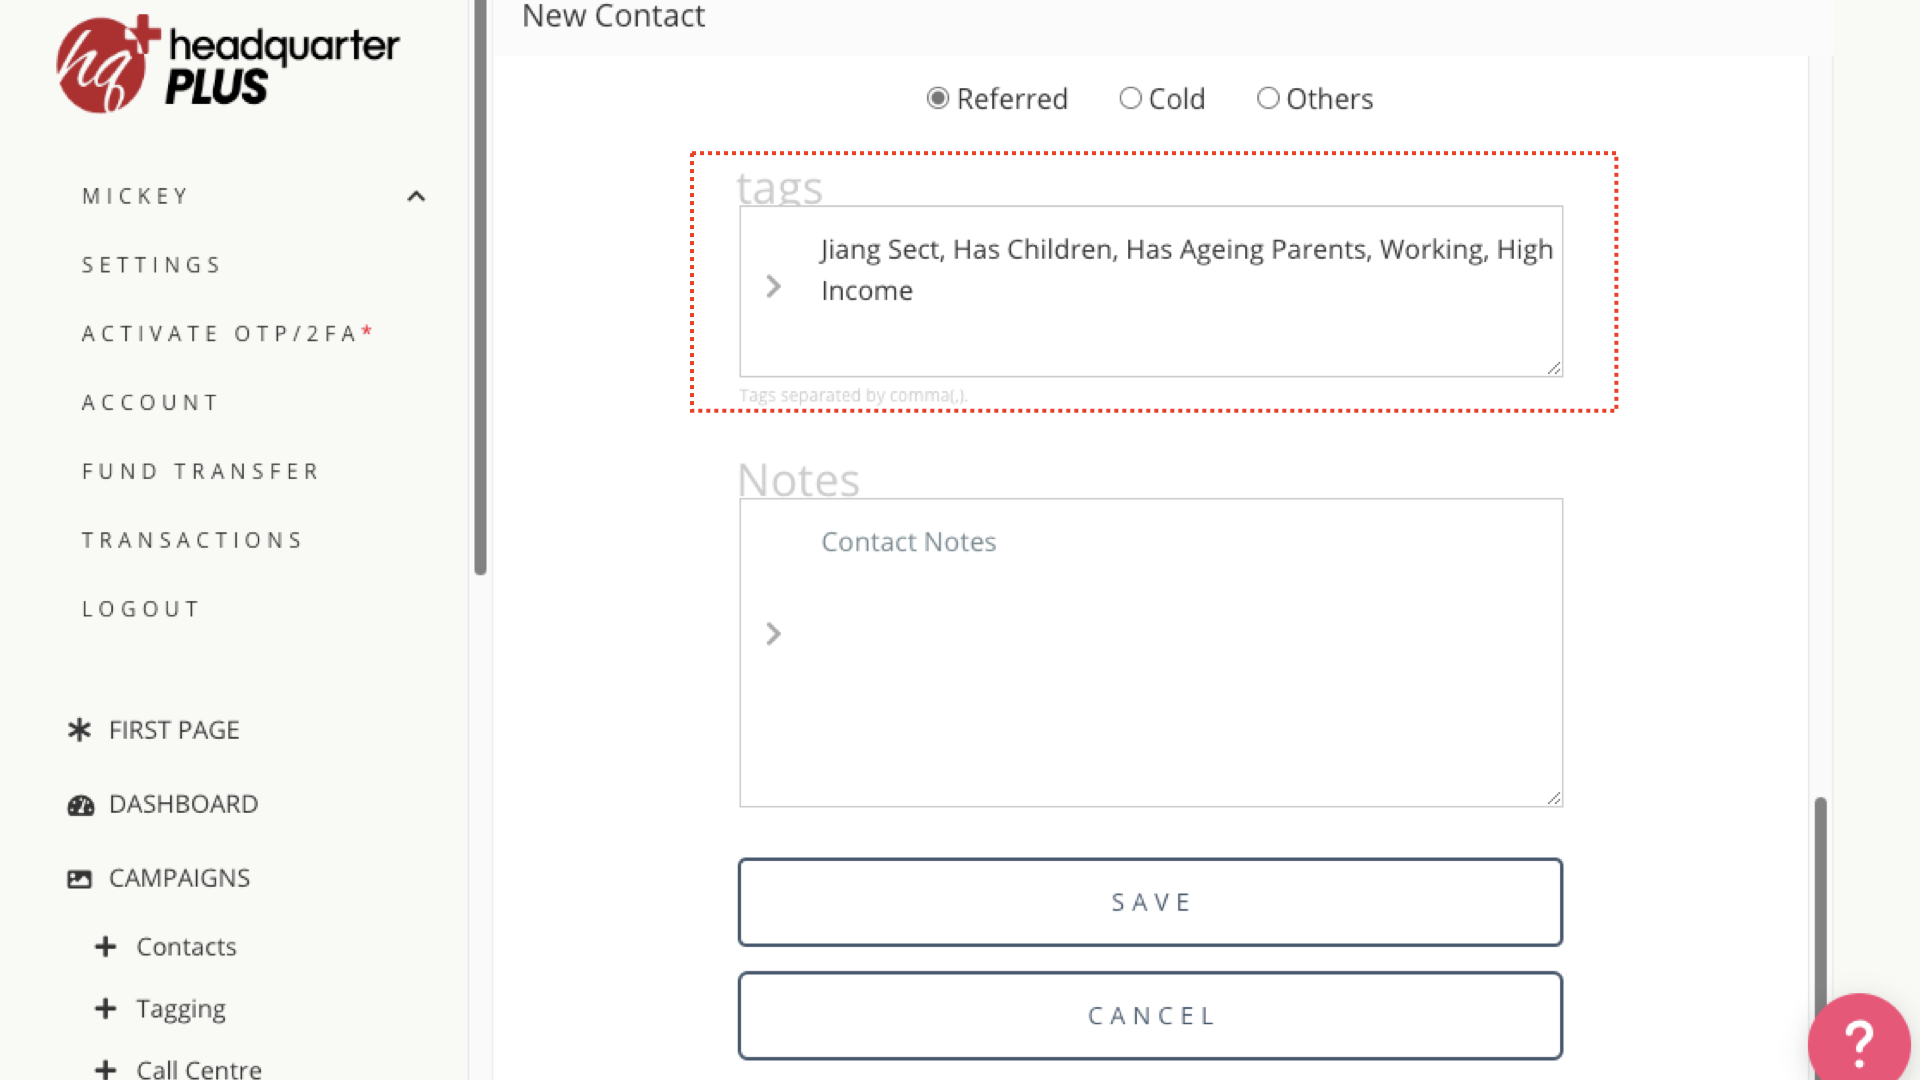
Step 7
Add tags to your client to help categorise them for ease of future targeted campaigning.
Step 8
Enter a next review date for the next occasion you expect to meet this new contact. A reminder for this will appear in your First Page.
Step 9
To enable automated newsletter sending check the 'Send Newsletter' box below their email address.
*Ensure that contact's record has an active official email address that the contact checks frequently, preferably one that is NOT a yahoo mail, in order to minimise Newsletter bounce rate.
Step 10
Click 'Save' and you have finished creating the new record!
Related Articles
How To Tag Contacts
The following article will show you how to tag contacts for the purpose of creating campaigns targeted at them. Step 1: In the HQ+ menu under Contacts, Select Tagging. Step 2: Select Tag to view a list of tags and create new ones. Step 3: Create a ...How to Upload contacts via CSV
In this article we will explain how to upload all your client contacts to HQ+ by creating and uploading a CSV file. Please note that you have to use a laptop or desktop computer when uploading for this process. Step 1 Download the CSV template here: ...HQ+ FAQ
Welcome to the HQ+ FAQs. If there's a question that is not answered below, please lodge a ticket through the support section of headquarter.io Getting Started Is there a demo account I can try? If you'd like a look around inside HQ+, please sign up ...Client Consent
This is an article explaining how to use the HQ+ Client Consent tool. Acquiring client consent for communications is an essential part of modern business practice and a requirement of MAS, PDPA, and company rules and policies. It is entirely the ...Purchase and Transfer Postcard credits
Purchase Postcard Credits Step 1: To purchase postcard credits click the 'HQ-POSTCARDS Portal' on the Account page. Step: 2 Select the amount of credits you wish to purchase. If you wish to make a larger purchase, please lodge a ticket at ...